Mini-Schultüten Sewing Instructions
Share
Small but Special – "Mini-Schultüten” (School Cones)
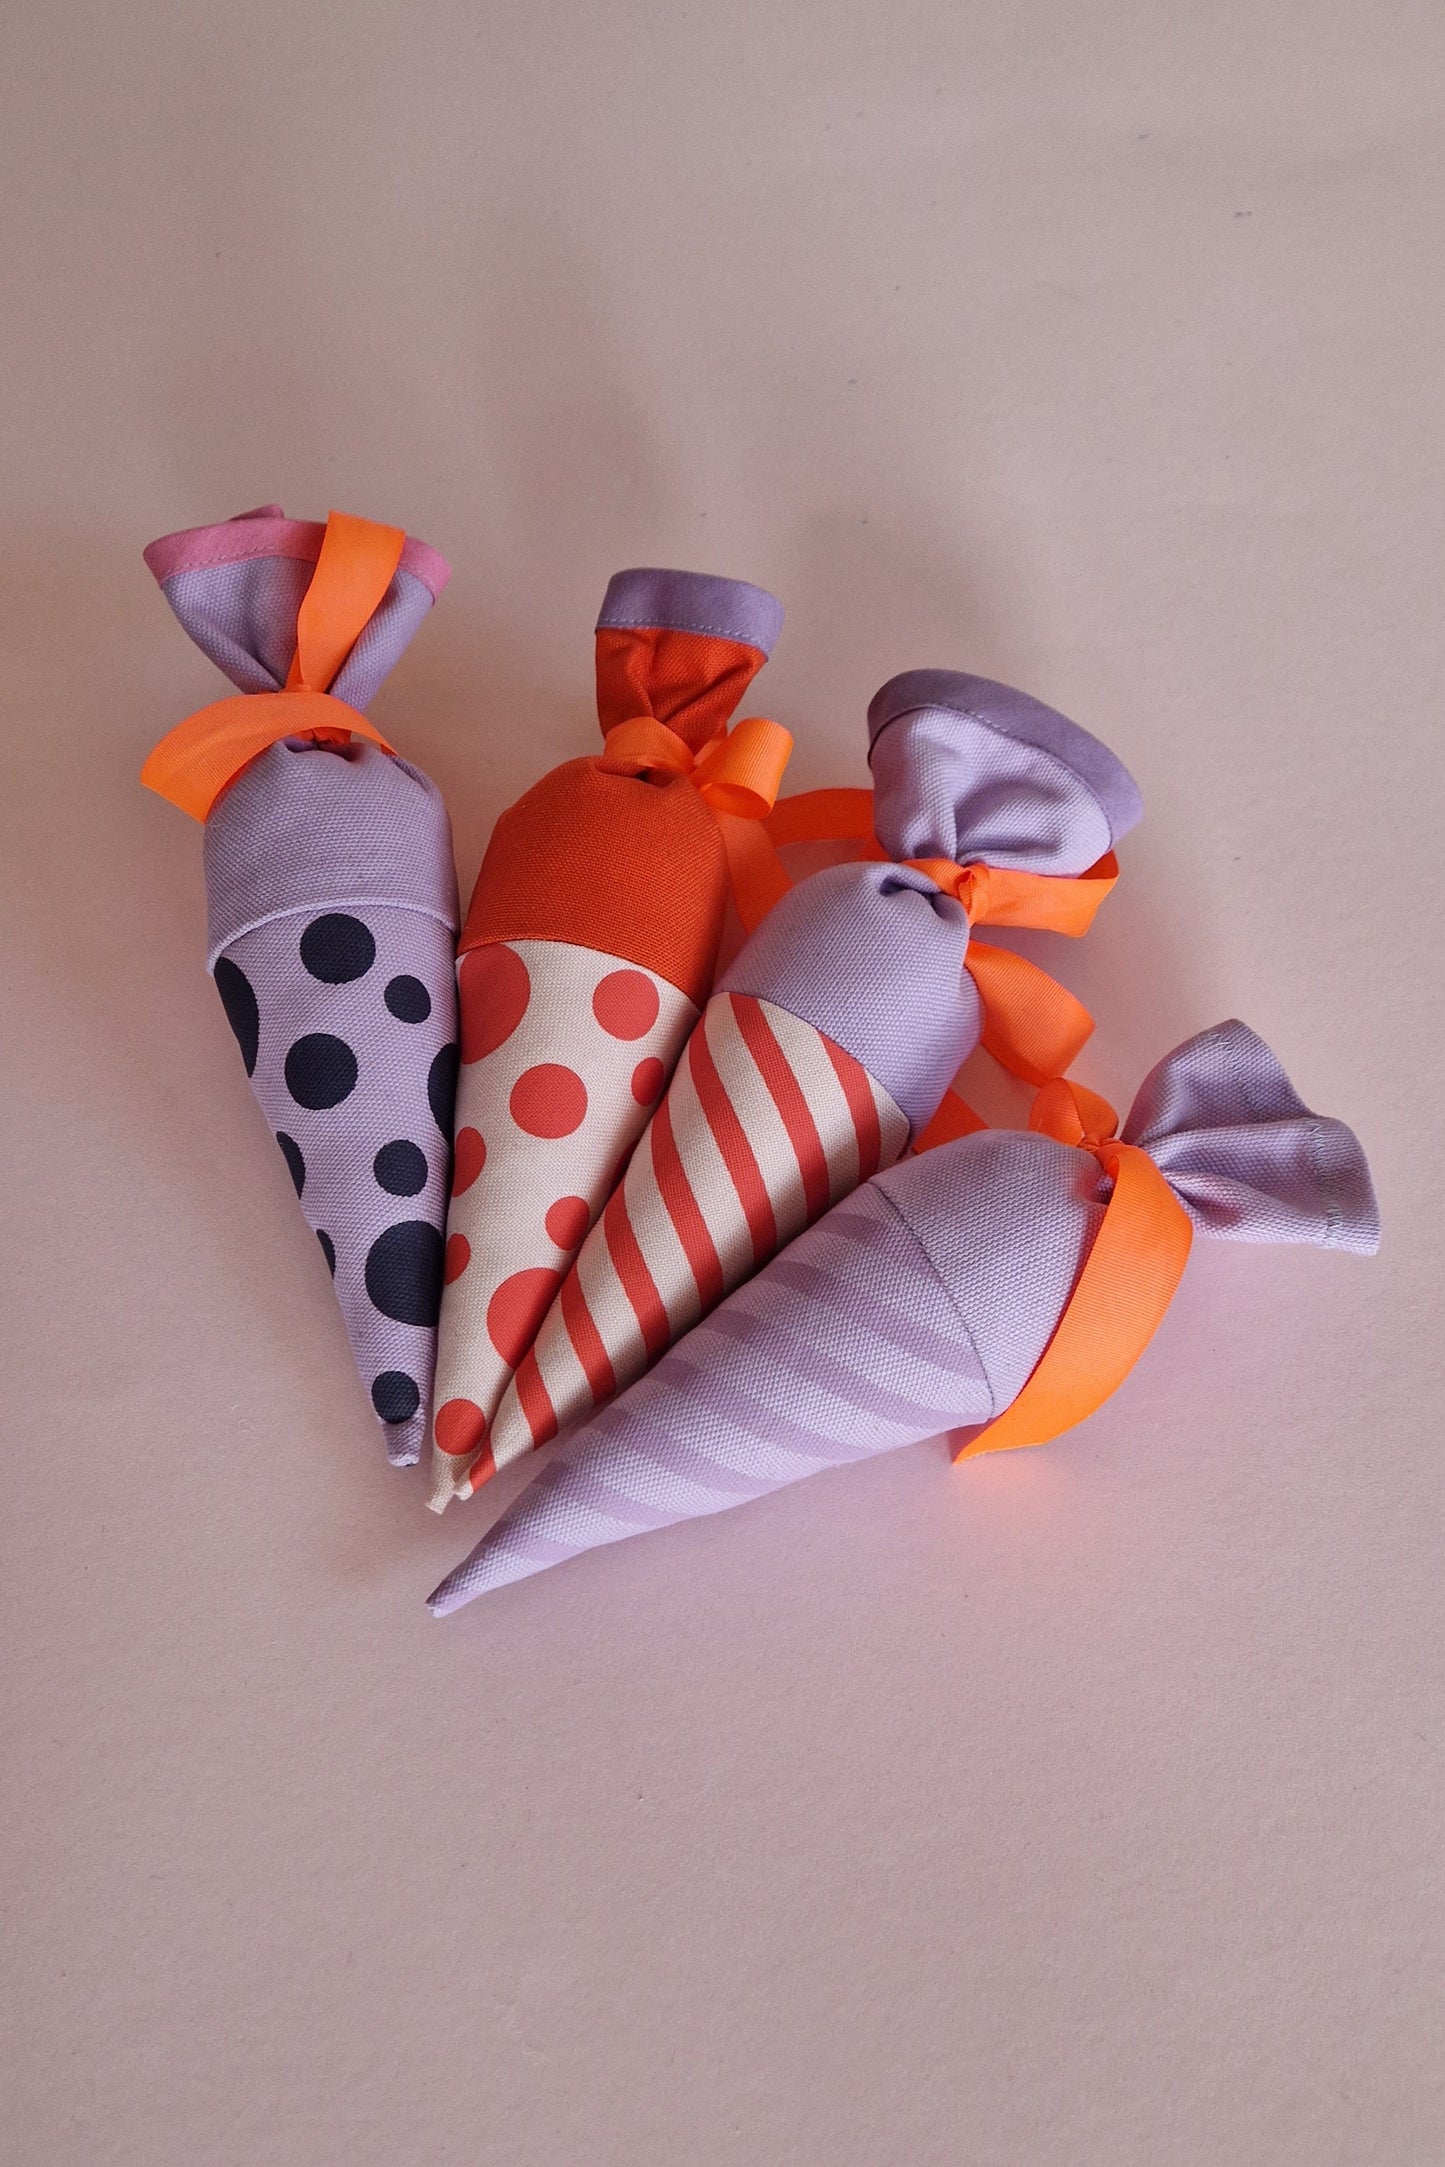
Use them as a garland or as gift packaging (with a cardboard insert for reinforcement)… My kids even suddenly started using them instead of their stuffed animals!
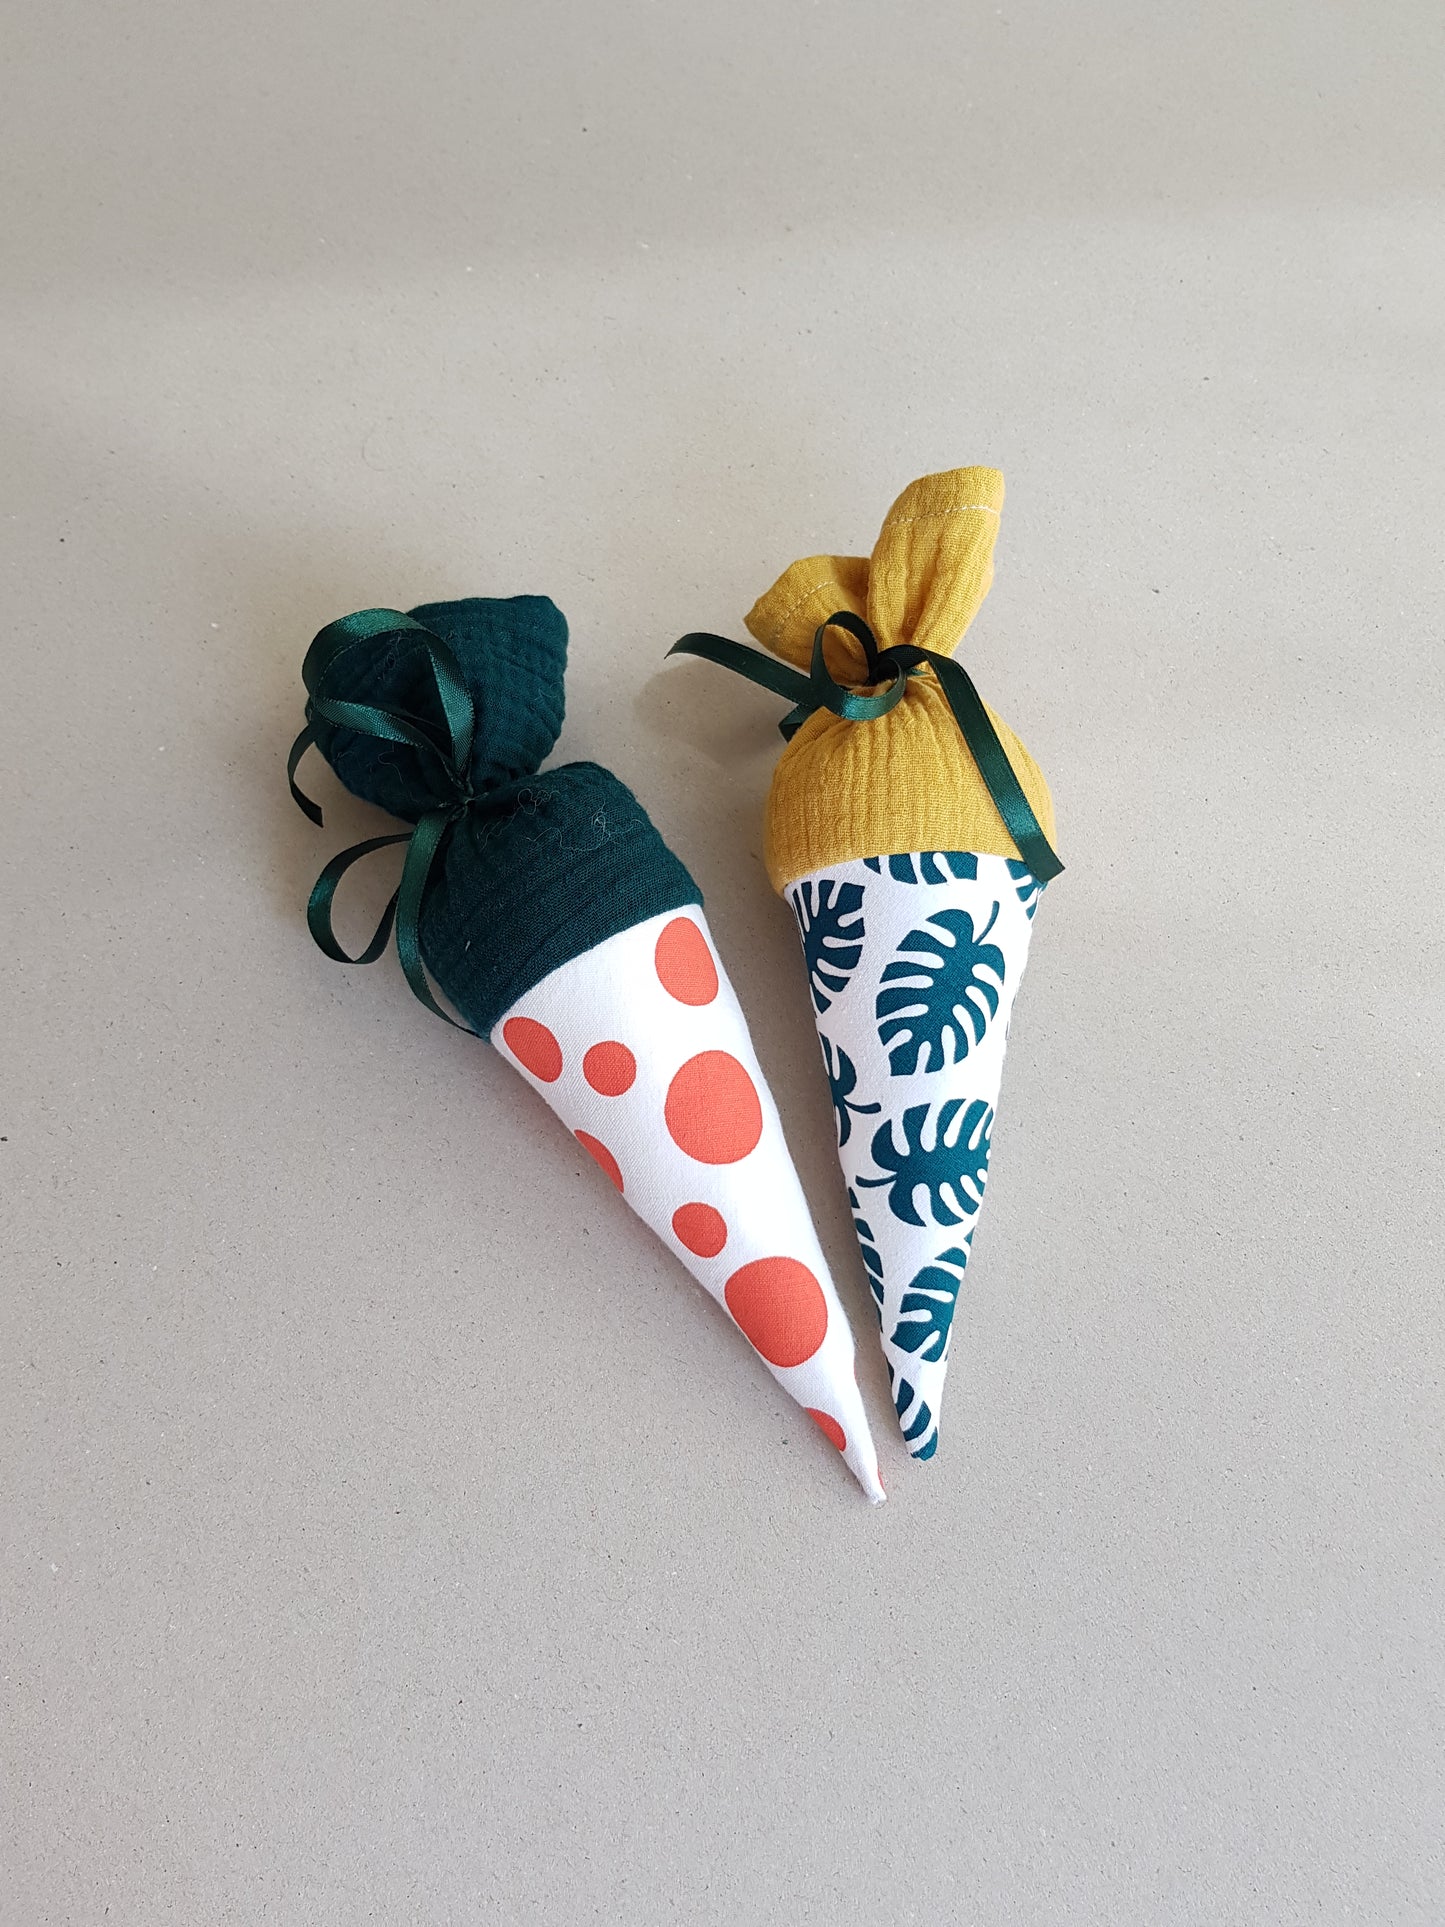
The possibilities for mixing colors and patterns to your taste are endless – and it’s the perfect project for fabric scraps! I used an old cotton tablecloth and some muslin here.
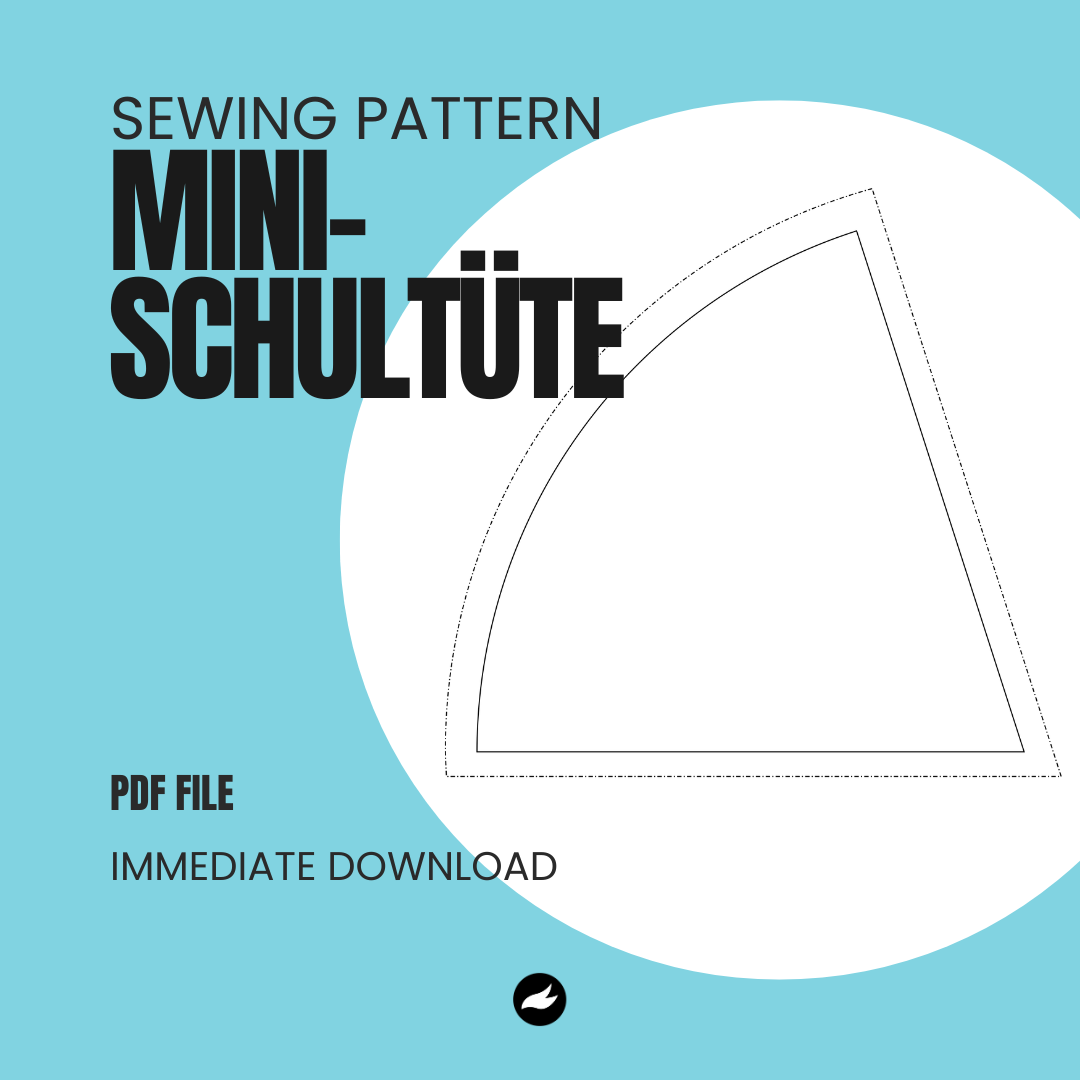
Below you’ll find the sewing instructions for use with the screen print templates, as well as a simple pattern.
Materials
To make the school cones, you’ll need the following:
- Screen printing frame, squeegee, tape, ink, and spatula (for screen printing)
- Screen printing stencil(s) (or sewing pattern)
- Fabric for the cone(s)
(The side lengths of the motif are 15 cm. With a 1 cm seam allowance, that’s 17 cm – so you’ll need at least a print area of 16 cm x 17 cm) - Fabric for the cuff (14 cm x 22 cm) per cone
- A string or cord for the garland (depending on desired length)
- Ribbon/cord to close the cones
If you resize the template, remember to adjust the seam allowances and the cuff accordingly.
Sewing Instructions:


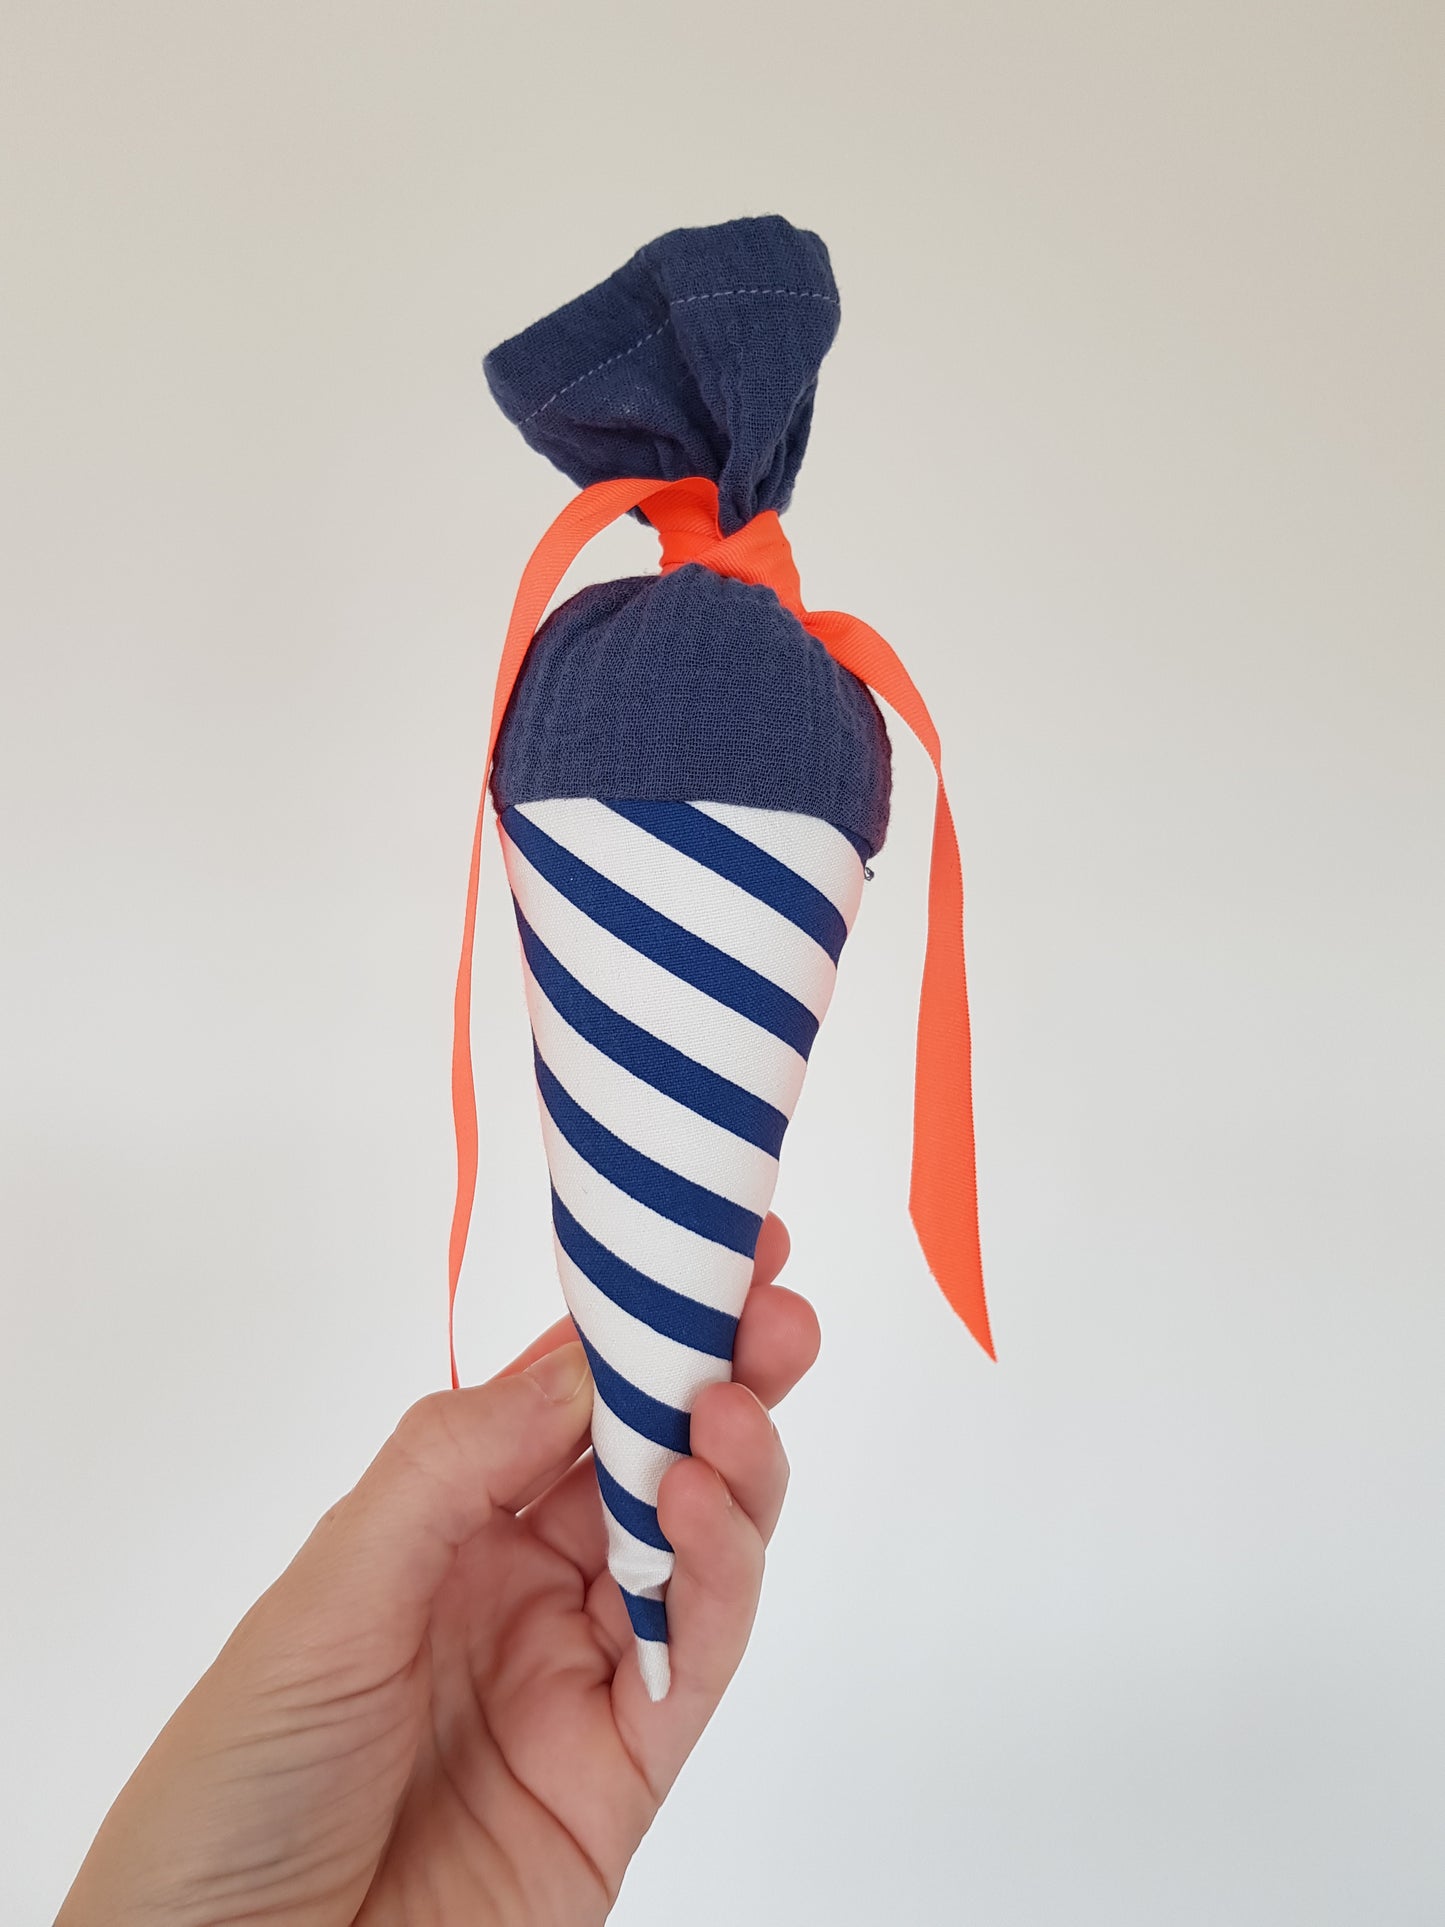
Close it with ribbon, cord, or string and tie a knot (optionally secure it with a few stitches).

For a Garland:
Lay the garland cord across the knot and secure it with another knot or a bow.
Tips & Tricks
-
I batched the steps: first sewed all the cuffs, then all the cones, and only then assembled and filled them.
-
You can fit two stencils on one A4 “Lossie” paper. Either mask off areas accordingly or print in a single color.
-
You’ll also find the stencil for the paper/cardboard insert in the files.
If you have any questions, feel free to reach out to me anytime!


