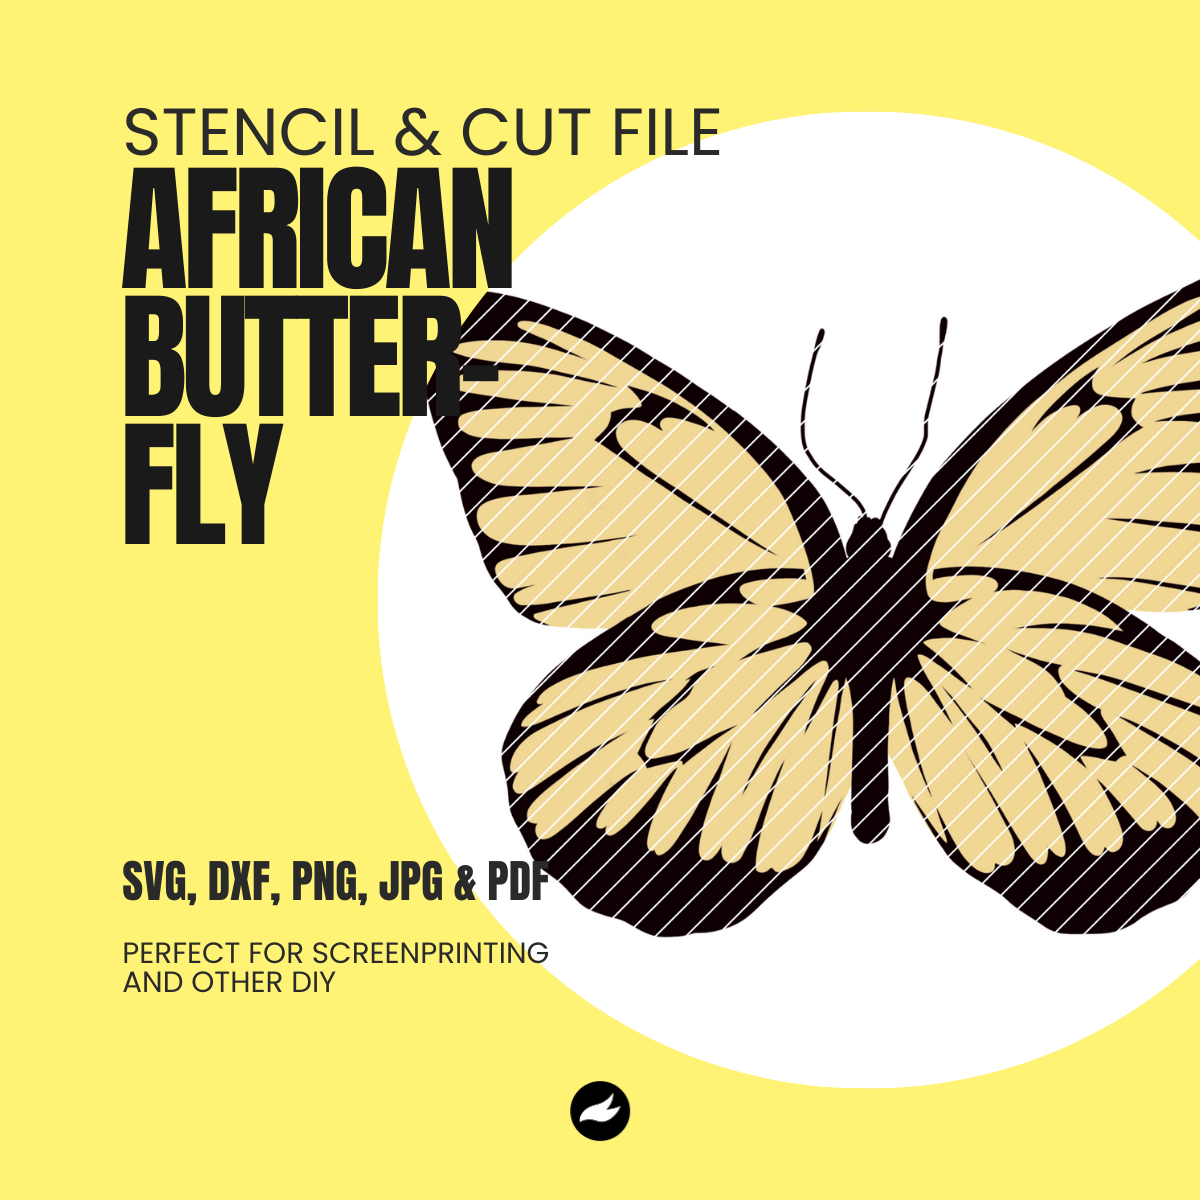
Color Splash Butterflies
Share
A Gradient Print Technique for Bold, Beautiful Wings
Looking to add some flair to your screenprinted butterflies? This color-splash technique creates a stunning gradient wing effect—quickly, cleanly, and with minimal fuss. Whether you're crafting custom textiles, bags, or cards, this method lets you blend colors smoothly before printing.
How It Works — Step by Step:
Start with stencil paper: Fold a sheet in half and apply your selected ink colors directly onto one side.

Blend the colors: Fold the paper again and gently squeeze the ink outward so it spreads across the fold line.

Transfer to the screen: Place the paper into your pre-set screen (already aligned and ready to go).

Apply pressure evenly: This pushes the color from the paper onto the screen. (Tip: Don’t press too hard, or the ink may start transferring prematurely.)

Check for gaps: If needed, spread leftover ink evenly across the design area.

Print your base layer: Pull the squeegee from the center outward for a mirrored wing effect.

Let it dry: The base layer needs to dry fully before the next one.

Top layer time: Align the second stencil and print over your base layer.

Almost done…

Voilà! A vibrant, layered butterfly print.

💡 The stencil paper is reusable—simply wash as usual. Make sure to fold it in the correct direction depending on your butterfly’s orientation (between the wings).
🖤 Tip: If your base layer has overlaps, go with a slightly darker top layer to keep things clean and bold. Two stencil versions are available—one with a simplified base, which makes alignment easier.
📽 Check out the reel on Instagram to see the whole process in action.


